How To Make a Courthouse Steps Block with the Creative Grids Log Cabin Trim Tool
FEATURED IN THIS TUTORIAL
Creative Grids 8" Log Cabin Trim Tool
Creative Grids 6" Log Cabin Trim Tool
Creative Grids 4" Log Cabin Trim Tool
RECOMMENDED NOTIONS
Creative Grids Self-Healing Rotating Cutting Mat
Clover Patchwork Pins (Extra Fine)
Schmetz Topstitch Needles Size - 80/12
Panasonic 360º Freestyle Cordless Iron
We're sewing on a BERNINA 770 QE and we love it!
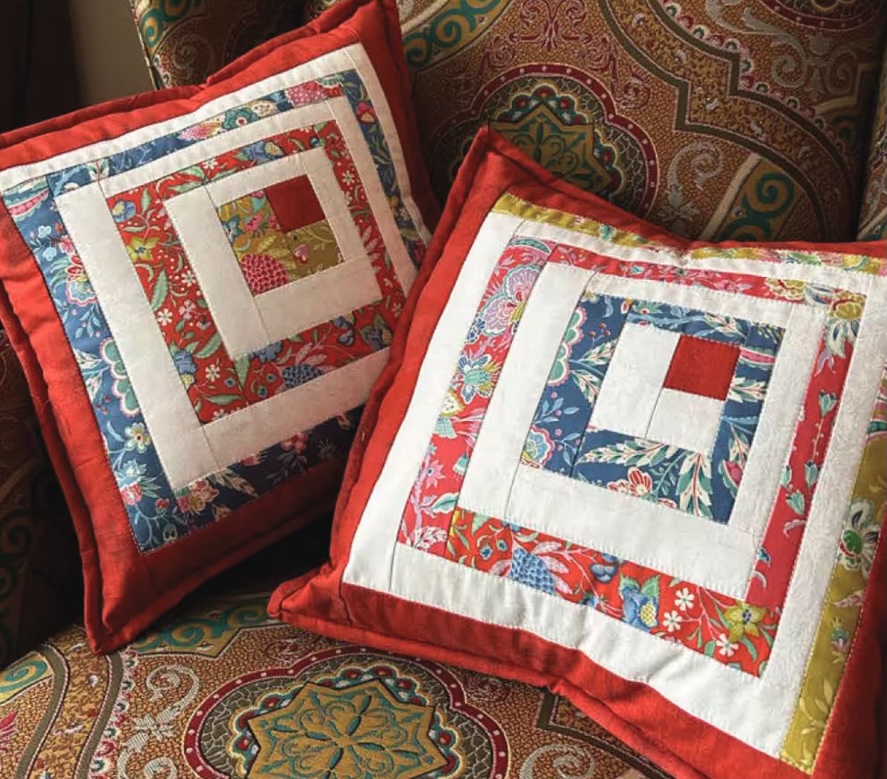
The Creative Grids® Log Cabin Trim Tool is designed to create three different blocks: Traditional Log Cabin, Courthouse Steps, and Half Log Cabin.
This tutorial focuses on the Courthouse Steps block—a classic design built symmetrically around a center square. Using the trim tool ensures precise sizing at every round, even if seams are not perfectly exact.
The steps below demonstrate the 8″ finished block, but the same method applies to the 4″ and 6″ versions. Always use the cutting and trimming sequence that corresponds to your specific tool size.
Tools and Preparation
- Creative Grids® Log Cabin Trim Tool (4″, 6″, or 8″)
- Courthouse Steps Sewing & Trimming Sequence (for your tool size)
- Rotary cutter and cutting mat
- Spinning mat (recommended)
- Fabric strips in light and dark values
- Sewing machine set to a .25″ seam allowance
For best results, follow the printed Sewing & Trimming Sequence rather than cutting random strip lengths. Pre-cutting according to the guide creates a smoother workflow and more consistent results.
Step 1: Cut the Center Square
For the 8″ Courthouse Steps block:
- Cut the center square to 2.5″ × 2.5″
Mini charm squares or 2.5″ strips cut from a jelly roll are ideal for this step.
Round 1
Cut:
- Two light strips: 1.75″ × 2.5″
- Two dark strips: 1.75″ × 4″ (confirm size per your trimming sequence)
Sew:
- Attach the first light strip to one side of the center square.
- Press away from the center.
- Attach the second light strip to the opposite side.
- Press again.
- Add the two dark strips to the remaining sides.
- Press all seams outward.
At this stage, the block is intentionally oversized.
Trim After Round 1
- Place the trim tool over the block.
- Align the Round 1 / Centering Square markings around the center square.
- Ensure seam lines fall along the dashed alignment guides.
- Trim the right and top sides.
- Rotate the mat (or rotate the tool 180°).
- Re-align the center square inside the marked frame.
- Trim the remaining two sides.
Round 1 is now square and properly sized.
Round 2
Sew:
- Add the next light strips to opposite sides.
- Press away from the center.
- Add the dark strips to the remaining two sides.
- Press outward.
Maintain the Courthouse Steps layout—lights opposite lights, dark opposite dark.
Trim After Round 2
- Position the trim tool using the Round 2 markings.
- Frame the center and previous rounds inside the labeled guide.
- Trim the right and top sides.
- Rotate the mat.
- Re-align and trim the remaining two sides.
The built-in markings eliminate the need for measuring between rounds.
Round 3 (Final Round for 8″ Block)
Sew:
- Add the final light strips.
- Press away from the center.
- Add the final dark strips.
- Press outward.
Final Trim
- Place the trim tool over the block using the Round 3 markings.
- Confirm that seam lines align with the guide lines.
- Trim all four sides in one continuous trimming sequence, rotating the mat as needed.
The spinning mat allows trimming without lifting the block, reducing distortion and improving accuracy.
After trimming, the block measures 8.5″ unfinished (8″ finished).
Why the Trim Tool Matters
The Courthouse Steps block requires accuracy at each round to maintain symmetry. The trim tool:
- Allows oversizing and trimming for precision
- Provides clear alignment guides for seam placement
- Includes non-slip grips to prevent shifting during cutting
- Ensures consistent sizing across multiple blocks
This method reduces cumulative measurement errors and makes the block approachable for all skill levels.
Design Options
Courthouse Steps blocks can create:
- Bold, graphic layouts
- Strong secondary patterns
- Classic red and white quilts
- Scrap-friendly designs with alternating lights and darks
Changing fabric placement dramatically alters the overall quilt appearance while maintaining the same construction method.
Summary
To create a Courthouse Steps block with the Creative Grids® Log Cabin Trim Tool:
- Cut the center square.
- Add strips in opposite pairs (lights, then dark).
- Trim after each round using the labeled markings.
- Complete the final trim for a perfectly square block.
With accurate alignment and consistent pressing away from the center, the result is a clean, symmetrical block ready for quilt assembly.