How To Use the Creative Grids Stripology XL Ruler
Join Jen as she shows you how to use the Creative Grids Stripology® XL Ruler designed by Gudrun Erla. Jen demonstrates how this ruler saves time for cutting strips from your fabrics stash. Ruler slides easily over the fabric until pressure is applied. Exclusive grip holds the fabric in place while cutting, eliminating slipping and miss-cuts.
Key features of the Creative Grids Stripology XL Ruler:
- Easy to read markings Whole inch, half inch, and eighth inch increments
- Cutting slots are every 1/2"
- Markings for making 1/4" and 3/4" cuts
- Square up blocks in whole inches and half inches
- Cut perfect diamonds and triangles with 45 and 60 degree angles
- Fully illustrated step by step instructions
RECOMMENDED NOTIONS
Creative Grids Stripology® XL Ruler
Creative Grids Stripology® Squared Mini Quilt Ruler
Creative Grids Self-Healing Rotating Cutting Mat
Panasonic 360º Freestyle Cordless Iron
Cutting is one of the most time-consuming parts of quilting—especially when a project requires dozens of strips or repeated sub-cuts for squares. The Creative Grids® Stripology XL Ruler is designed to solve that exact problem by improving speed and accuracy while reducing measuring mistakes.
In this tutorial, you’ll learn how the Stripology XL works, how to prep fabric for best results, and how to use its built-in markings to cut both strips and sub-cut units (like squares) efficiently.
Stripology Ruler Sizes
There are three main Stripology ruler options referenced in the tutorial:
- Stripology XL (extra large; most cutting capacity before shifting)
- Stripology Squared
- Stripology Quarters Mini
This tutorial focuses on the Stripology XL, but the same basic methods apply to the other versions.
Part 1: Cutting Strips with the Stripology XL
Step 1: Prep Your Fabric
Start like any cutting project:
- Starch (optional) and press fabric flat.
- Square up the fabric edge if needed.
Because quilting cotton is typically 43–44″ wide from selvage to selvage, a full width can be wider than the ruler. The solution is simple.
Step 2: Fold Fabric to Fit the Ruler
To make the Stripology XL ruler manageable and stable:
- Place fabric selvage to selvage (folded as it comes off the bolt).
- Fold the fabric exactly in half again:
- Bring the fold up to meet the selvage
- Keep edges parallel so the fold runs straight
This reduces the working width and allows the ruler to cover the fabric properly for accurate cuts.
Step 3: Use a Sharp Rotary Blade
Clean cuts matter with slotted rulers. If your rotary cutter starts skipping or tearing fibers:
- Replace the blade immediately
Dull blades slow you down and can throw off accuracy.
Step 4: Align the Stripology XL Ruler
The ruler includes a bold black alignment line that makes positioning easy.
- Place the ruler on the folded fabric.
- Align the bold line along the fold line so the ruler is straight and stable.
- Notice that the ruler’s “zero” isn’t tight to the edge—this makes it easier to get a clean initial trim and start cutting accurately.
Step 5: Use Built-In Markers for Common Strip Widths
One of the most useful features on Stripology rulers is the pre-marked cutting lanes.
- Stars indicate the lanes for cutting 1.5″ strips (Honey Bun size)
- Squares indicate the lanes for cutting 2.5″ strips (Jelly Roll / Rolie Poly size)
Instead of measuring and adding (1.5 + 1.5 + 1.5… or 2.5 + 2.5…), you simply cut in the marked lanes.
Cutting 2.5″ Strips (Jelly Roll Width)
- Align ruler
- Cut in each lane marked with a square
- Continue until you’ve cut the number of strips you need
- Shift the ruler as needed and repeat
Result: clean, consistent strips with minimal measuring.
Part 2: Sub-Cutting Strips into Squares
After strip cutting, many projects require sub-cuts—especially for:
- Fusible grid projects
- Repeated patchwork units
- Kits with many identical squares
The tutorial demonstrates sub-cutting into 2″ squares (which finish at 1.5″ in a fusible grid project).
Step 1: Move Your Setup for Sub-Cutting
To make sub-cutting easier:
- Shift your cutting mat and ruler setup to the side (so you can cut down the length cleanly without fighting table space)
Keep fabric folded and stacked to maximize efficiency.
Step 2: Cut Multiple Squares Quickly
For 2″ squares, you can cut in multiples (example shown: 2, 4, 6, 8 inches as repeated increments).
If you’re stacking strips, you can line them up and cut multiple layers at once—just keep everything aligned before you start cutting.
Step 3: Trim Off the Selvage First
When sub-cutting, you’ll want to avoid including the selvage:
- Position the ruler so you’re cutting below the selvage
- Trim the selvage edge off first
- Then proceed with your square cuts
Step 4: Work Within the Ruler Slot Direction
The slots run one direction, so when you need to cut the opposite direction, the method is:
- Move the ruler to the side
- Line up along the bottom
- Cut without lifting or disturbing your stacked strips
You may lose a bit of fabric at the very end if you cut too many strips before shifting—this is normal during the learning curve. Adjust by cutting fewer strips before repositioning.
Why This Matters: Precision + Speed
When you’re cutting for fusible grid or patchwork, everything starts with consistent units. The Stripology XL produces:
- True, consistent sizes (not “close enough” cuts)
- Faster cutting for repeated shapes
- Less time spent measuring
- A smoother kit-prep and project start
The ruler itself claims it can reduce cutting time significantly (the tutorial references a 75% reduction). Even without tracking the exact percentage, the practical benefit is clear: repetitive cuts become faster and more reliable.
Final Tips
- Fold fabric carefully so edges stay parallel
- Use the bold alignment line for stable setup
- Use a fresh blade for clean cuts through the slots
- Lean on the star and square lane markers to avoid math
- Cut a manageable number of strips before shifting the ruler
Summary
The Creative Grids® Stripology XL Ruler is built for quilters who want:
- Faster strip cutting
- Accurate, repeatable sub-cuts
- A practical way to cut their own precut-style strips and squares from stash fabric
If you routinely make projects that call for lots of identical strips or squares, this tool can make the cutting stage cleaner, faster, and far less tedious.
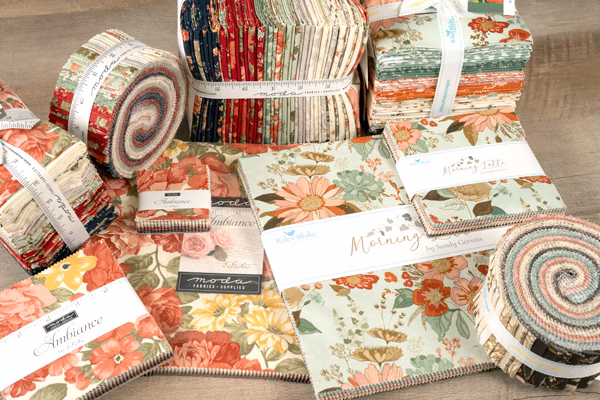
Common Precut Sizes You Can Cut Yourself
Stripology isn’t only for one size strip. It’s useful for recreating popular precuts (or making your own custom cuts from stash fabric), including:
- 2.5″ strips (Jelly Rolls / Rolie Polies)
- 1.5″ strips (Honey Buns)
- 5″ squares (Charm Packs)
If you love precut-friendly patterns but want different colors, prints, or curated fabrics, this ruler makes it practical to cut your own sets quickly and consistently.
Why Quilters Use Stripology Rulers
Creative Grids® tools are built around a simple idea: solve a real quilting problem—not just add another ruler to the sewing room.
Stripology rulers are especially popular because they help with:
- More accurate cuts
- Time savings on repetitive cutting
- Less measuring and fewer math errors
- Faster prep for projects like jelly roll quilts, honey bun projects, and fusible grid patterns